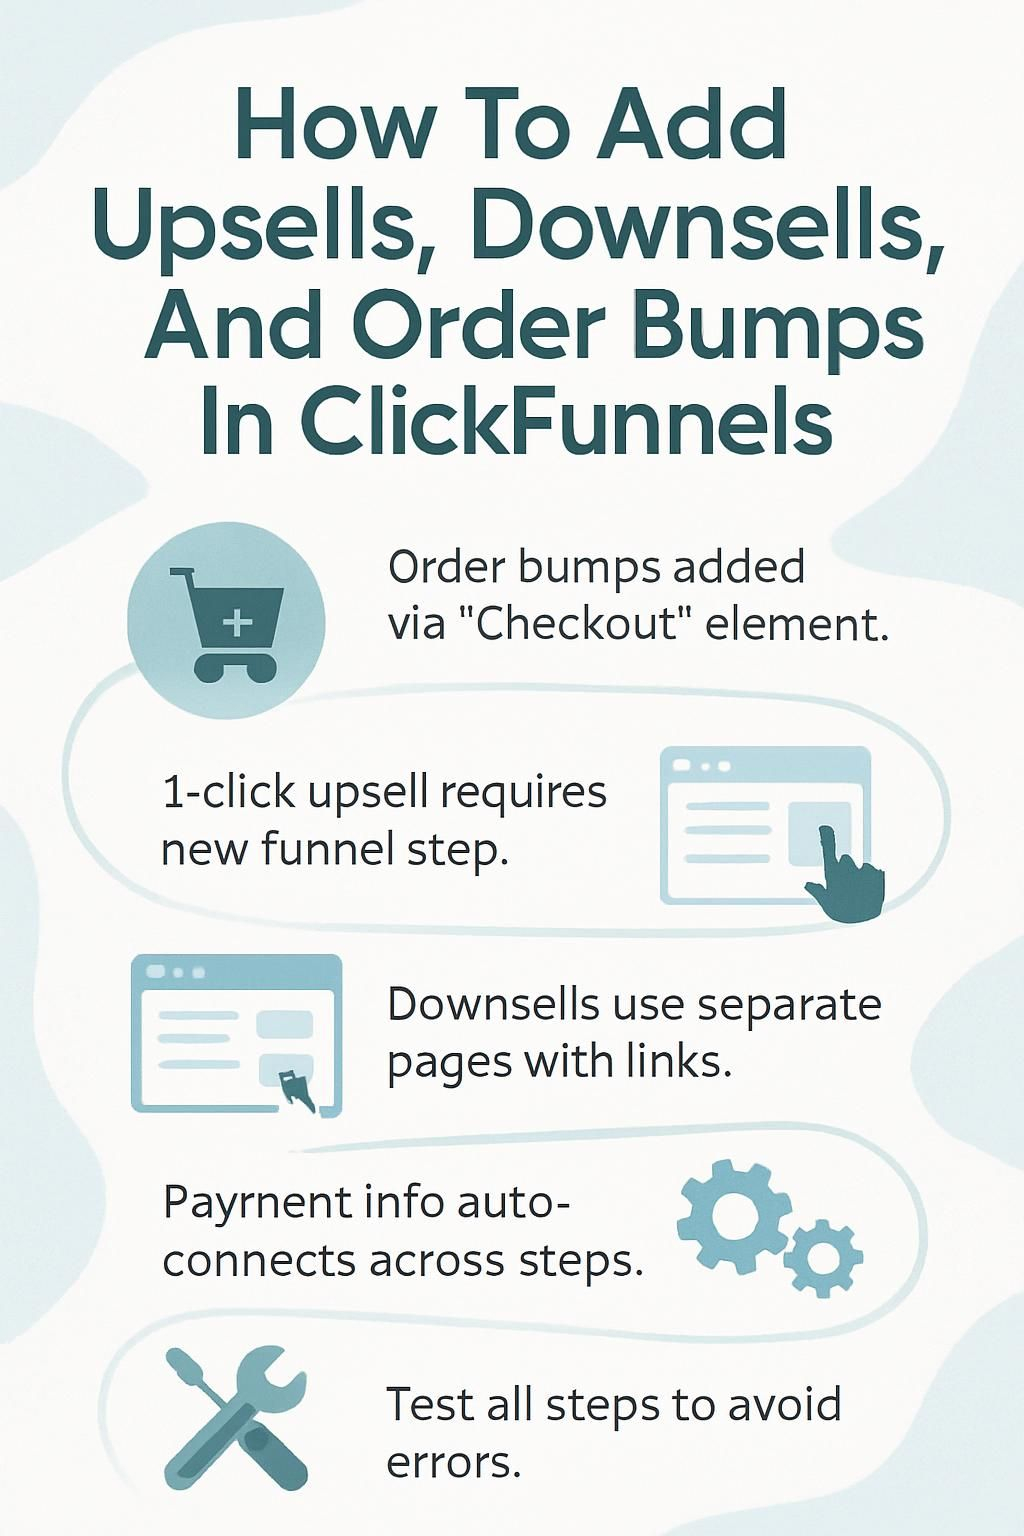
How To Add Upsells, Downsells, And Order Bumps In ClickFunnels

You’re leaving money on the table if you’re not using order bumps, upsells, and downsells. These three features can boost your average order value by 10-30%. ClickFunnels makes it simple to add them to your sales funnel.
Here’s what you need to know. Order bumps sit on your checkout page. They let buyers add extra items with one click. Upsells appear after someone buys. They offer upgraded products. Downsells kick in when someone says no to an upsell. They provide a cheaper option.
This guide walks you through each step. You’ll learn how to set up all three in ClickFunnels 2.0.
How to Add Order Bumps in ClickFunnels

Order bumps appear directly on your checkout page. They work because they catch buyers at the perfect moment. They’ve already decided to buy. Adding one more item feels easy.
Studies show order bumps convert at an average rate of 40% in tripwire funnels. That’s high. The key is offering something related to what they’re buying. It should enhance their main product.
Adding the Checkout element to the order form
The Checkout element is your starting point. This connects your main product to any extras you want to offer.
Here’s what you do:
- Open your funnel page editor in ClickFunnels 2.0.
- Drag the Checkout element onto your order form using the funnel page editor.
- Place it where buyers will enter payment information.
- This element links to your funnel step. It ties products to each order.
- The Checkout element gives you built-in product selection tools.
- You can set main offers and choose subscription-based options.
- Use redirect override if you want buyers to go straight to upsell pages after this step.
The Checkout element is required for order bumps. Without it, you can’t add extras to your checkout page.
Configuring the Order Bump section and linking products
Now you set up the actual order bump. This is where you pick which product appears as an add-on.
Click on Checkout settings in the page editor.
Find the Order Bump option. Turn it on. This makes the order bump section visible to customers.
Select your order bump product.
Pick a product that complements your main offer. For example, if you sell a fitness plan, add a water bottle for $19. Make it an obvious yes.
Link the product through Checkout settings.
You must attach the product using the three-dot menu or caution symbol in ClickFunnels 2.0. This ensures it connects to payment information.
Price it right.
Your order bump should feel like a deal. Research shows that order bumps priced between $10 and $30 perform best for most products. Keep it under 30% of your main product’s price.
Test your setup.
Review the checkout page after linking your product. Look for errors. Make sure the order bump appears correctly before sending traffic to your funnel.
You can only attach one product as an order bump per funnel step. Keep it simple.
If you need help, ClickFunnels 2.0 has a built-in video tutorial specific to order bumps. Use it if you get stuck.
How to Add Upsells in ClickFunnels
Upsells happen after the main purchase. The buyer has already entered payment information. That makes them more likely to say yes to another offer.
Data shows upsells are responsible for 10-30% of eCommerce revenue. The reason is simple. Buyers are in buying mode. They trust you. One more click feels easy.
Creating a new funnel step with an Upsell page
You need a separate page for your upsell. This page appears right after checkout.
- Go to your sales funnel and select Add Funnel Step.
- Name it something clear like “Upsell Page.”
- Pick an Upsell page template from the Page Editor. Templates speed up the process.
- Attach a product to this page in the checkout settings. Without this, the one-click upsell won’t work.
- Use the drag-and-drop editor to add a one-click Upsell button. This triggers fast purchases.
- Set up redirect overrides if you want buyers sent to a thank you page after their decision.
- Choose complementary products like bundles or subscription-based upgrades. Make it easy to add with one click.
Pro tip:
Your upsell should solve a problem the main product doesn’t. If they bought a beginner course, offer advanced training. If they bought a tool, offer premium support.
Attaching products and configuring one-click upsell buttons
The one-click button is critical. It lets buyers accept your offer without re-entering payment details. This reduces friction.
Here’s how to set it up:
- Open your Upsell funnel step in the page editor.
- Find the checkout settings section.
- Link your upsell product using the product tab in ClickFunnels.
- Drag and drop a one-click upsell button onto your page.
- Connect the button to your product. This ensures the payment goes through automatically.
- Set up redirect override so buyers move to the correct next step after clicking.
- Use clear words on the button like “Yes! Add To My Order.”
- Test your funnel flow using ClickFunnels 2.0’s preview feature before going live.
Make sure payment information links match.
Every product must connect to your checkout page. This allows seamless processing. Double-check this before launch.
According to a 2025 study, businesses using ClickFunnels report a 300% revenue increase within six months when upsells are properly configured.
Watch the ClickFunnels video tutorial if you need visual guidance. It covers one-click upsells step-by-step.
How to Add Downsells in ClickFunnels
Downsells save sales. When someone skips your upsell, you offer a cheaper option. This keeps them engaged.
Research shows downsells should be priced at about 50% of the upsell cost. This makes them an easy yes for price-sensitive buyers.
Adding a Downsell page after the Upsell step
A downsell page comes right after the upsell. It only shows if someone declines the upsell.
- Add a new funnel step for your downsell page in ClickFunnels 2.0.
- Place it immediately after the upsell step in your sales funnel sequence.
- Use the page editor to design this page. Show a main product or complementary products at a lower price.
- Select the correct product in checkout settings. Link it directly to this page.
- Add a one-click button so customers can accept without re-entering payment information.
- Set this page to follow only if buyers refuse the upsell. This keeps funnel flow smooth.
- Use redirect override to move users to your confirmation page if they decline the downsell.
Test the sequence.
Make sure buyers move from upsell to downsell correctly. No errors should slow down the buying process.
Linking products and setting up the one-click downsell action
Your downsell needs a one-click button just like your upsell. This keeps the process fast.
Follow these steps:
- Create a new funnel step for your downsell page. Place it after the upsell page.
- Go to the page editor for your downsell page. Add checkout elements.
- Select your downsell product. Link it in checkout settings.
- Add a clear call-to-action button. Set it as a one-click purchase in the button configuration panel.
- Adjust redirect override settings. Visitors should see the proper next step after accepting or declining.
- Use complementary products as downsell options. Think lower-cost items related to the upsell.
- Test your checkout process. Make sure products connect correctly.
- Watch ClickFunnels 2.0 video tutorials if you need help with one-click actions.
- Review all steps before going live. Confirm that each product links properly.
Downsells can add 10-30% more revenue when priced correctly.
These steps keep everything organized. Buyers move easily through your funnel, even if they skip the initial offer.
Conclusion
Adding upsells, downsells, and order bumps in ClickFunnels is straightforward. You start by placing the Checkout element on your order form. This enables order bumps.
Next, add new funnel steps for upsells and downsells. Link products to each step. Use one-click buttons to make buying fast.
These three features guide buyers through your sales funnel. They boost your average order value every time someone completes checkout. Small changes here make a big difference to your results.
Try these steps in your next checkout page setup.
Disclosure: I am an independent ClickFunnels Affiliate, not an employee. I receive referral payments from ClickFunnels. The opinions expressed here are my own and are not official statements of ClickFunnels or its parent company, Etison LLC.