How To Integrate Zoom With ClickFunnels For Webinars
Struggling to connect Zoom with ClickFunnels for your webinars? This integration helps streamline your webinar setup and manage registrants easily. In this guide, you’ll learn step-by-step how to connect these tools and create a smooth experience for your audience.
Keep reading to set it up quickly!
Prerequisites for Integration
You need a Zoom Webinar Plan and a scheduled event for this setup. Make sure the webinar asks participants to sign up.
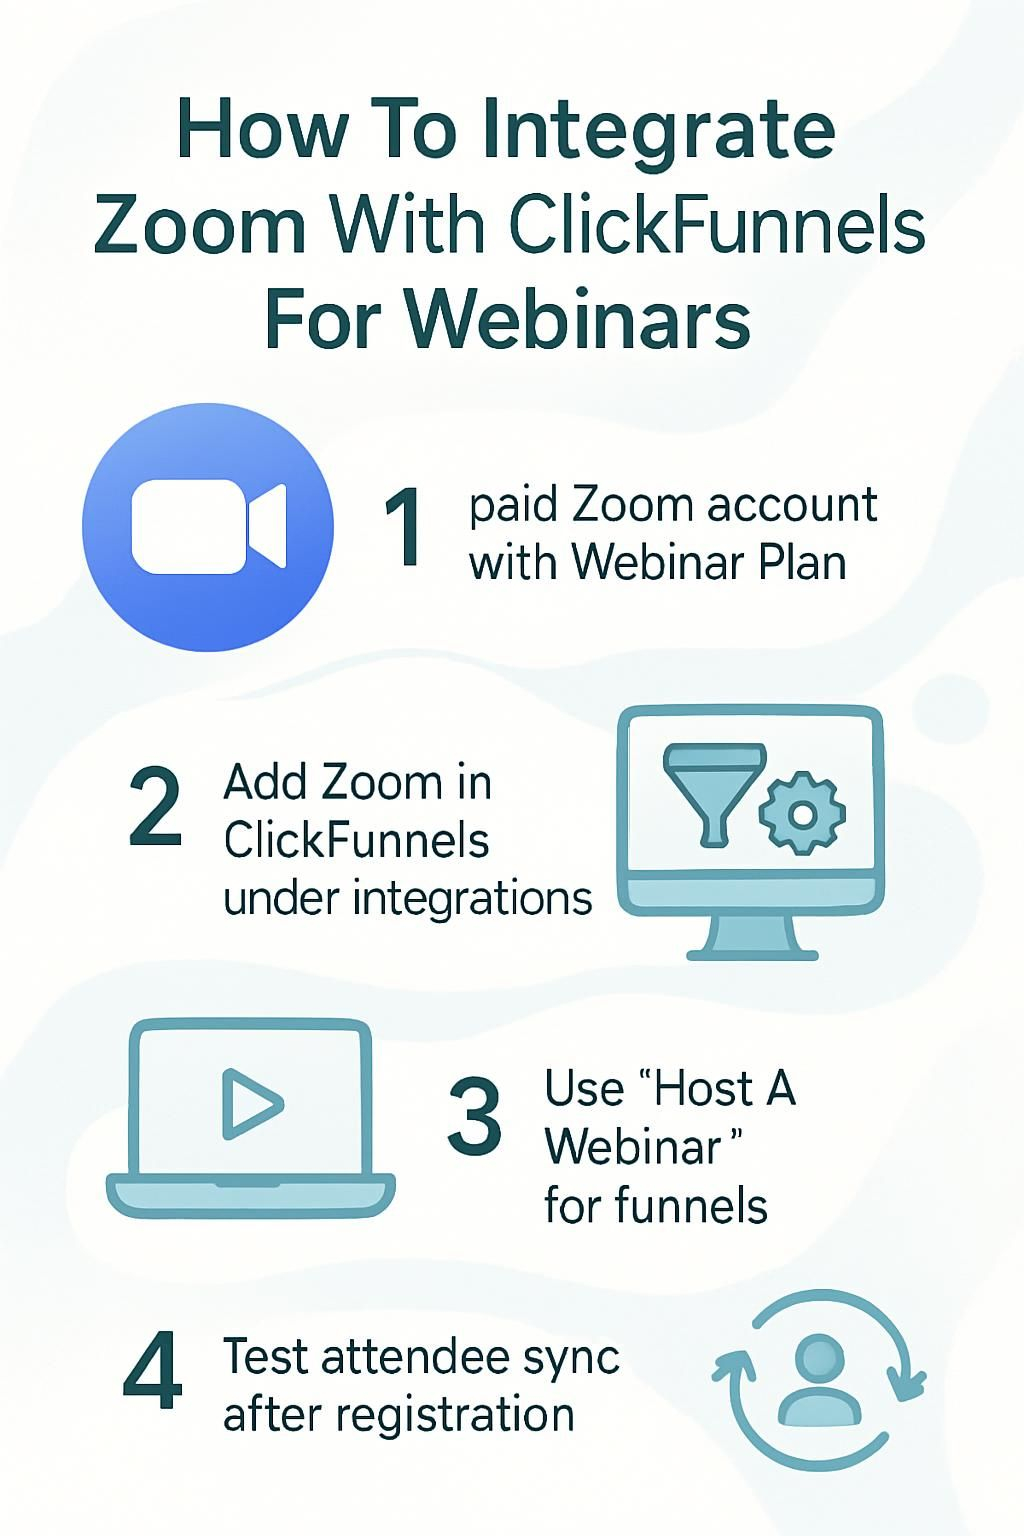
Paid Zoom account with Webinar Plan
A paid Zoom account with the Zoom Events and Webinar Plan is essential. Free Zoom accounts do not support webinar integration with ClickFunnels. Make sure your plan includes webinars to access all features needed for setup.
Set your webinar as a one-time event, with registration required. Avoid recurring webinars since they are not compatible. This setup ensures smooth linking between ClickFunnels and Zoom, helping you manage webinar registrants easily.
Success starts with having the right tools in place.
Scheduled one-time webinar with registration required
You must set up a one-time webinar in Zoom. Make sure it is not recurring. Recurring webinars do not work with ClickFunnels integration.
Enable the “registration required” option for your webinar. This ensures smooth syncing of attendee data between Zoom and ClickFunnels. Now, move to connecting Zoom to ClickFunnels for further steps.
Connecting Zoom to ClickFunnels
Link your Zoom account to ClickFunnels through the integration settings. Grant the permissions needed to sync both platforms perfectly.
Navigate to Account Settings > Integrations
Go to your ClickFunnels workspace settings. Click on “Account Settings,” then find and select the “Integrations” tab.
Add Zoom as a new integration. A prompt will appear, asking for permission to link your paid Zoom account with Webinar Plan. Approve it to complete the connection setup.
Add Zoom as a new integration and grant permissions
Click “Account Settings” in ClickFunnels. Then select “Integrations.” Choose “Add New Integration” and find Zoom from the list of options. A paid Zoom account with the Events and Webinar Plan is required for this step.
Grant ClickFunnels permission to access your Zoom data. This allows it to connect properly for webinars. Once added, you can link it to specific funnels later. Continue by setting up a webinar funnel in ClickFunnels.
Setting Up a Webinar Funnel in ClickFunnels
Build your webinar funnel with ease in ClickFunnels. Adjust the registration page to match your style and needs.
Create a new webinar funnel
Click “Build a Funnel” in ClickFunnels. Choose the “Host A Webinar” option to start creating your live webinar funnel. This feature is designed for events like webinars that need registration pages.
Set up pages within the funnel, including a landing page and thank-you page. Use templates or customize them to fit your needs. Ensure these pages guide users toward registering for your Zoom webinar easily.
Customize the Webinar Registration page
Edit the Webinar Registration page to match your branding. Add a clear title, description, and details about the event. Use simple fonts and colors that reflect your business style.
Include fields for attendees to opt in with their email or other contact information. Highlight key benefits of joining the webinar to encourage sign-ups. Make sure it looks good on mobile devices too!
Linking Zoom to the Webinar Funnel
To link Zoom with your webinar funnel, open the editor for the registration page. Choose Zoom under integrations and pick your specific webinar from the list.
Open the Webinar Registration page in the editor
Access the Webinar Registration page in your funnel. Click “Edit Page” to open it in the editor.
Hover over “Settings” and choose “Integrations.” From the dropdown, pick your Zoom integration. Select your webinar from the list. Check that the webinar is not recurring and set for a future date.
Select Zoom under Integrations and choose the webinar
Click the integrations tab in your ClickFunnels workspace settings. Find Zoom on the list and select it. Grant permissions to allow access to your Zoom data.
Pick the scheduled webinar you want to connect from the dropdown list under “Choose Webinar.” Only one-time webinars with registrations work here, not recurring ones. Save your changes before exiting.
Important Tips for Seamless Integration
Pay close attention to your webinar settings. Small adjustments can make a big difference in how smooth the process feels.
Ensure webinars are not recurring
Schedule your webinars as one-time events. Zoom integration does not support recurring webinars. Recurring settings can block the connection with ClickFunnels.
Choose a future date for your webinar. Avoid back-to-back or repeat scheduling options in Zoom’s setup. This ensures smooth linking and proper registration tracking between both platforms.
Verify registration settings in Zoom
Your webinar must require registration for integration to work. Go to your Zoom account settings and check the “Registration Required” box under Webinar Options. This step ensures ClickFunnels collects registrant details.
Double-check that your Zoom webinar is set for a future date. Without this, people cannot sign up through your funnel. Use a paid Zoom account with the Events and Webinar Plan to access these features.
Automating Processes with Zapier
Use Zapier to save time and simplify tasks. It helps sync webinar registrants and manage contact details automatically.
Sync contacts and automate registrations
Sync Zoom with ClickFunnels using Zapier for smooth automation. This tool connects your webinar registrants directly to your contact lists. Each person who opts in gets registered in both systems.
Check that your Zoom account uses a Webinar Plan and has registration turned on. Set up workflows in Zapier to ensure attendee details flow into ClickFunnels without delays. Use the integration to avoid manual updates, saving time and reducing errors.
Testing and Finalizing the Integration

Test the webinar signup flow, check Zoom’s attendee list, and ensure everything works smoothly—discover more steps next!
Test the webinar registration process
Fill out the webinar registration form on your ClickFunnels page. Ensure all fields work properly and match your needs. Double-check that entering details triggers a confirmation email.
Verify that the registrant’s data syncs with Zoom correctly. Open Zoom and confirm the new registrant appears under “webinar registrants.” Fix any errors immediately using ClickFunnels or Zoom settings for smooth integration.
Confirm attendee data syncs with Zoom
Set your Zoom webinar registration to “required” in the settings. This ensures attendee data flows into ClickFunnels correctly. Only webinars with this option enabled will sync their information.
Verify that the correct Zoom webinar is linked on your Webinar Registration page in ClickFunnels. Test by registering yourself to confirm attendees appear in both tools. Move forward by automating processes for ease of use.
Conclusion
Connecting Zoom with ClickFunnels makes webinars easy to manage. You can link both platforms quickly by following clear steps. Set up your funnel, add the Zoom integration, and test everything works smoothly.
With this setup, you’ll keep registrations organized and run professional webinars. Boost your workflow without extra hassle!
Disclosure: I am an independent ClickFunnels Affiliate, not an employee. I receive referral payments from ClickFunnels. The opinions expressed here are my own and are not official statements of ClickFunnels or its parent company, Etison LLC.